I made this dress in 2009, and I’ve written this write-up with the assistance of my old livejournal. One thing I learned in posting this on livejournal is not all countries have the lolly known as the Jaffa.
A Jaffa is a lolly that is round with dark orange chocolate in the middle and a thin coating of candy stuff on the outside that is a dark orange/red colour. Like an m’n’m but bigger and rounder. This is how the dress got it’s nickname!
I chose the colours by the following method. I had orange linen/cotton that was brighter and a little lighter in weight than I hoped. A friend was raising money by selling fabric so I ‘helped’ her by buying 13 metres of brown linen which I’m still using to this day—it is the same linen I used in the interlining of the red gamurra. I found putting the brown under the orange dulled the colour slightly.
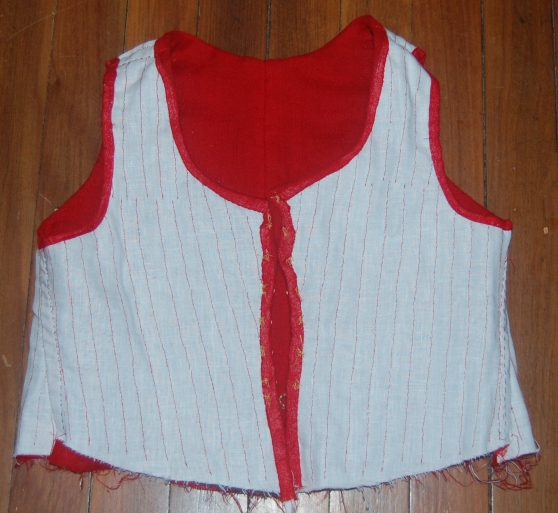
This is my first and only fully lined Gamurra, usually I only line the bodice.
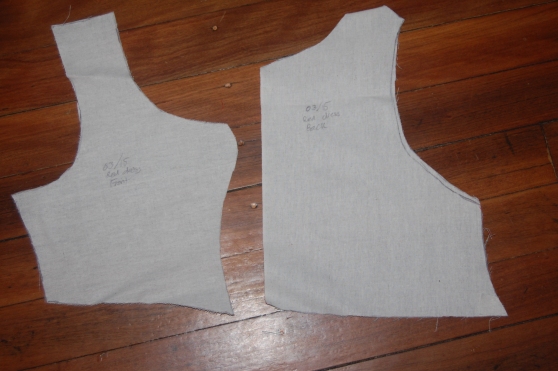
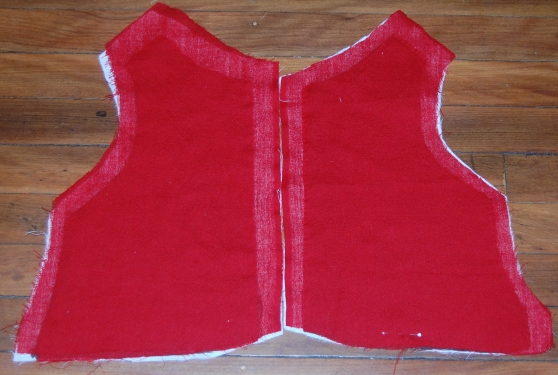
My first step is I altered my existing bodice pattern, I had the version of the pattern I had used for my yellow gamurra before I rose the waist so I just had to raise the neckline. I did this by tracing the pattern onto my fabric but drawing the neckline a little higher. I didn’t mock it up.
To construct the bodice I used my usual method of finishing the pieces and whipping them together.
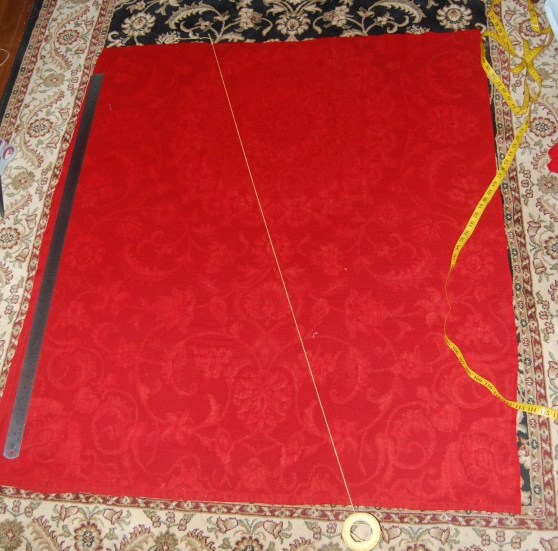
I used my normal method for cutting the skirt. I had four rectangles and my Z measurement was 30cms and the rectangles were 135 wide in total.
I cut the rectangles by pulling a thread in the orange linen/cotton
The brown linen didn’t want to pull a thread easily, so I cut one straight line and then used the orange as a pattern for the other. I pinned the selvages together at the top, the sides down the side where I had pulled the thread on both and the other two sides I smoothed till they looked right.
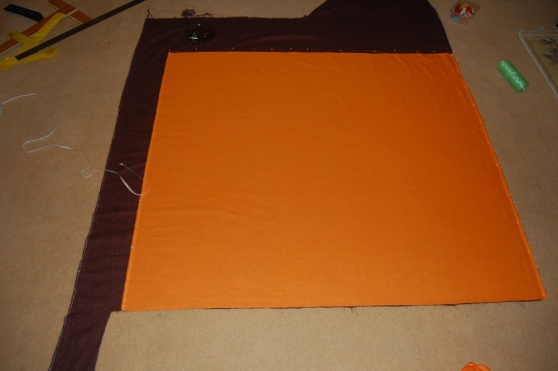
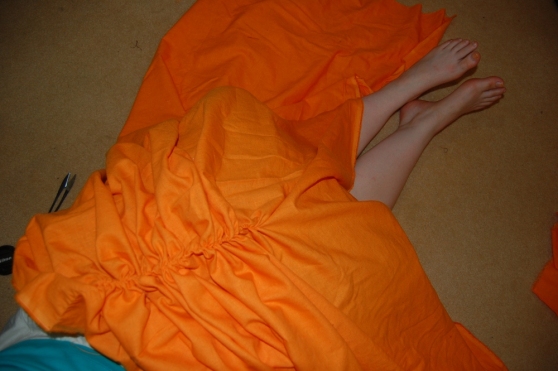
It was at this point my mother looked down and said it looked like a jaffa, hence the name the jaffa dress.
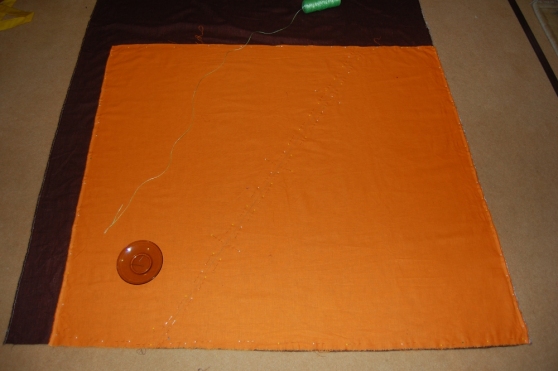
Before cutting I pinned the layers together around all edges, especially along where I was going to cut. The last thing I needed is cutting along the bias and then the fabric not matching up again.
For the sewing of my skirt I decided to use a seam I don’t normally use. I’m not a fan of running stitch, and if I leave the finishing to the end then it will never get done. Which is why I usually finish and whip. This time I decided to run and finish with a difference.
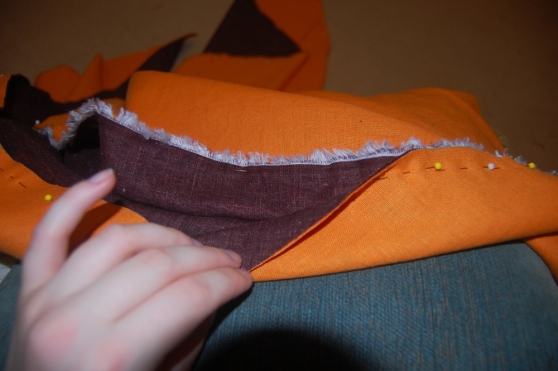
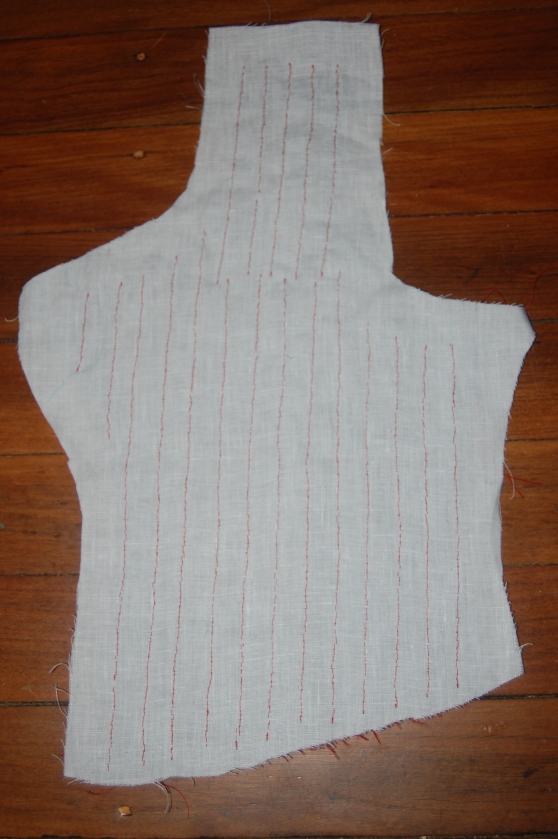
I sewed the wrong sides together then finished the seam on the right side of the fabric by folding it out to one side
and folding it under.
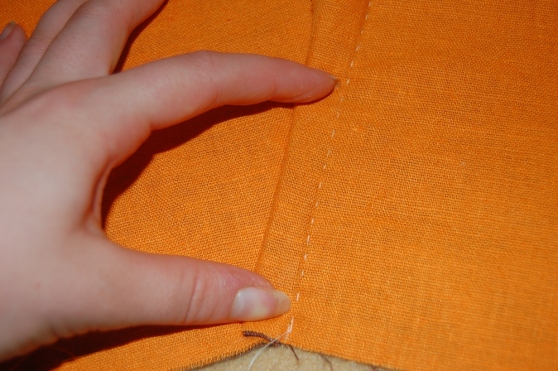
and tacking it down with a whip stitch. Off the top of my head I can only remember this (as in the finishing on the outside) done on linen (ie, undergarments), but I chose this method so I would have to finish the seams before I wore it, not wear it unfinished and have the seams fray to pieces. For the record—this worked.
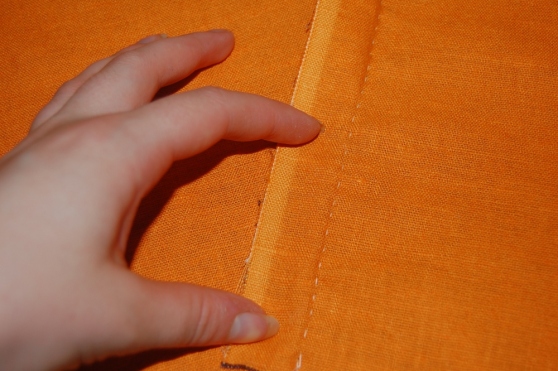
I sewed the skirt in cotton quilting thread that looked like linen thread. I chose white to be similar to bleached linen thread which I was reading at the time would have been used rather than expensive dyed silk thread for lower class garments. I like the finished look.
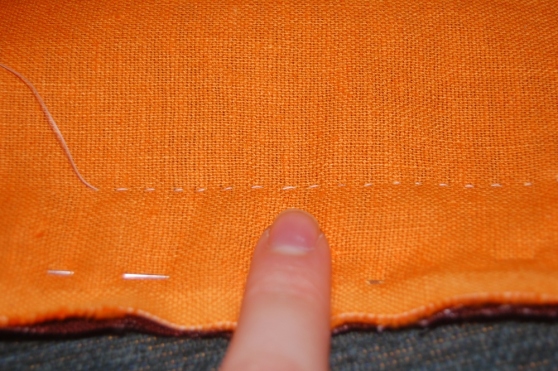
Here is a closeup of my stitches. I couldn’t make them smaller due to the thickness of the fabric- would have had to do stab stitch to get them smaller.
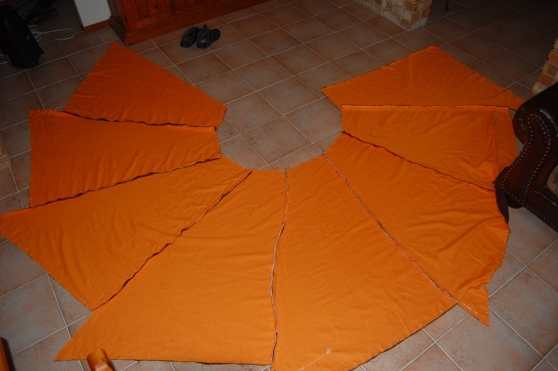
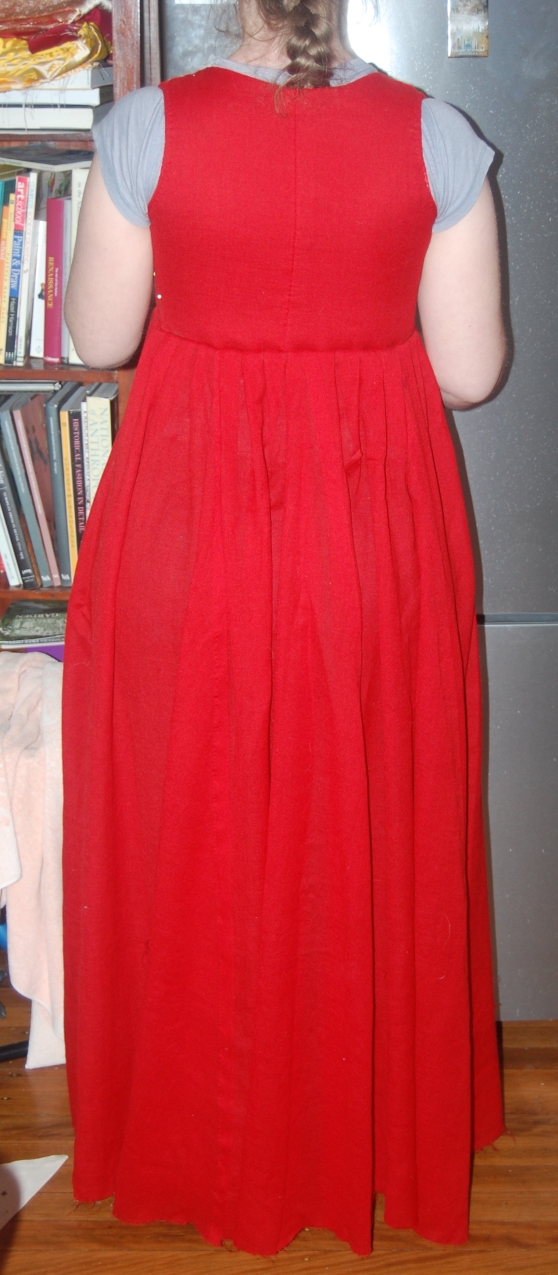
The skirt once sewn together. Yes, the panels are all the same size, it’s just the middle ones are closer and all. Still to do was to cut and finish the seams, hem the top, cut and hem the bottom and whip stitch it to the bodice.
Well, first thing I did was cut the hem of the dress even. To do this I laid it out on the floor, eyeballed what the curve would be and cut it panel by panel, using the first one I cut as a template but adjusting it where needed. I made sure I pinned above the cutmark before cutting so the lining didn’t shift. Then I hemmed the thing and it didn’t take as long as you might think but by the end of the nine metres (or whatever the hem is) I was jolly sick of the whole thing!
It took me a couple of days to figure out the pleating. I had wanted to hem the top then do tiny box pleats, but as at the seams there would have been about 21 (if my maths is right) layers of fabric it really meant that none of the folds of the pleats could fall on the seams. I considered pleating it then binding the top with something, but decided not to. In the end I hemmed it, and pleated it with larger pleats fudging it where needed to make sure they didn’t fall on the seams where needed.
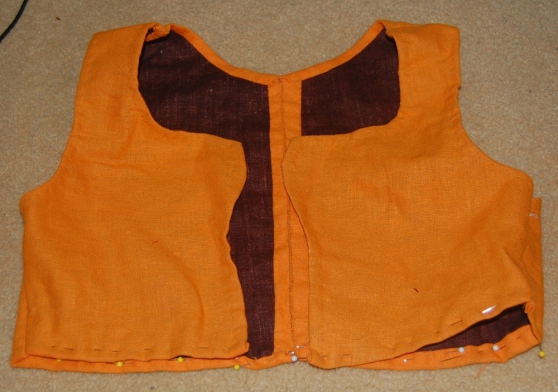
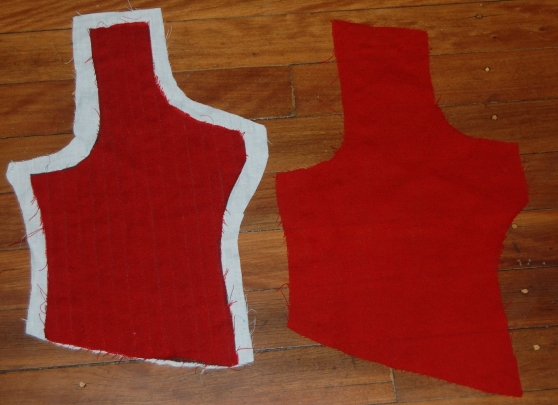
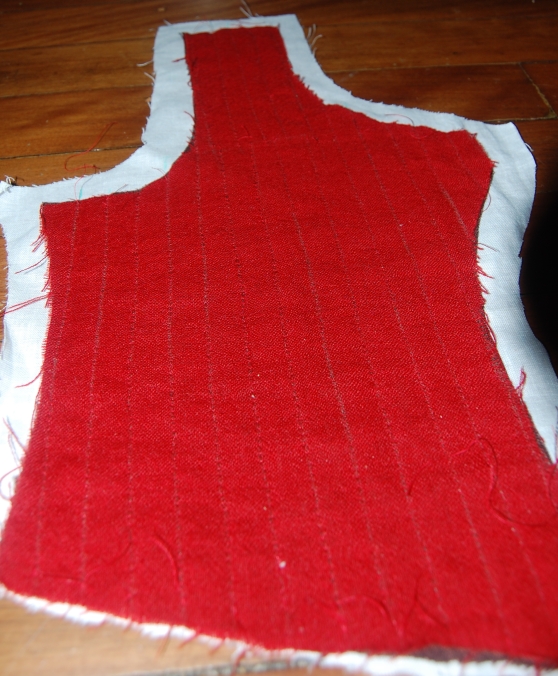
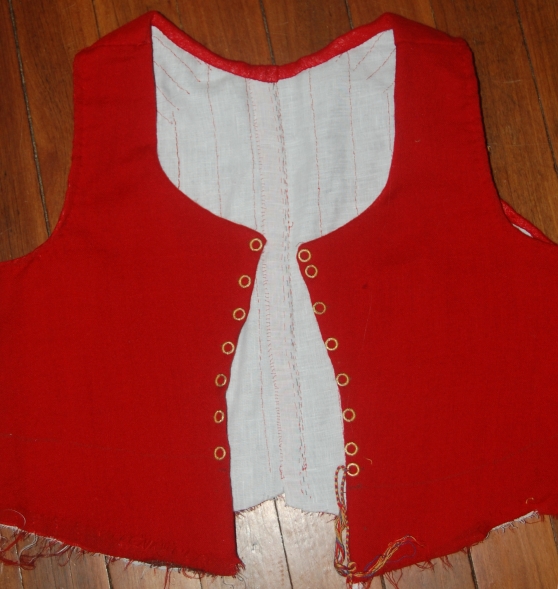
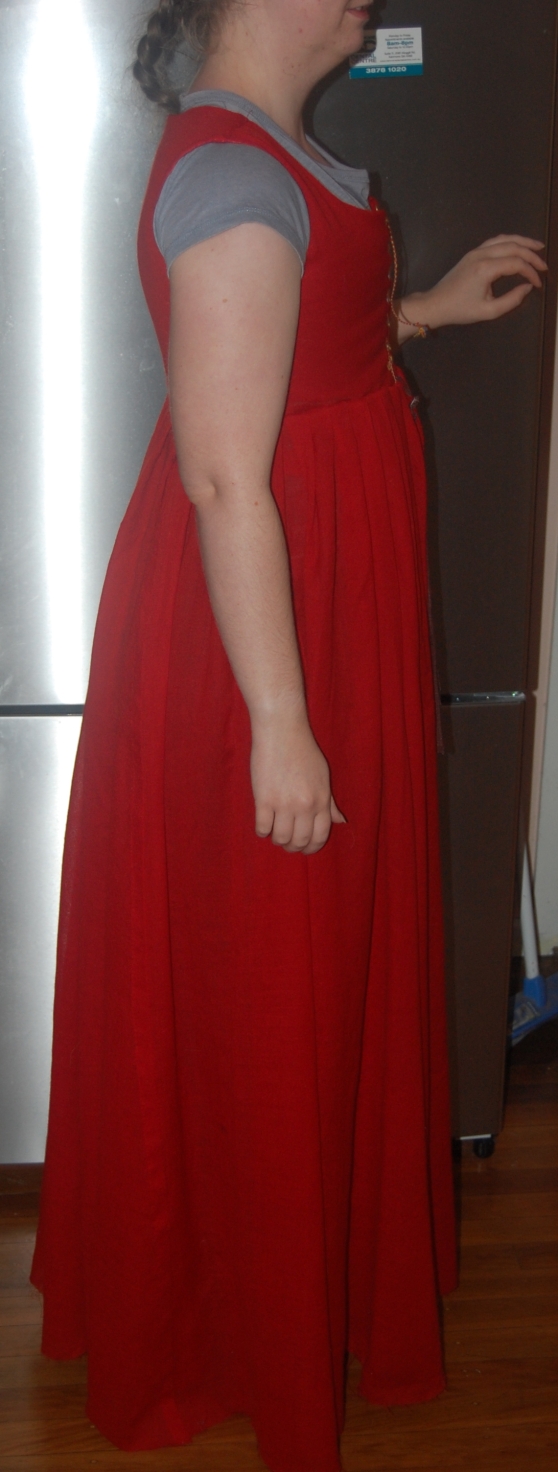
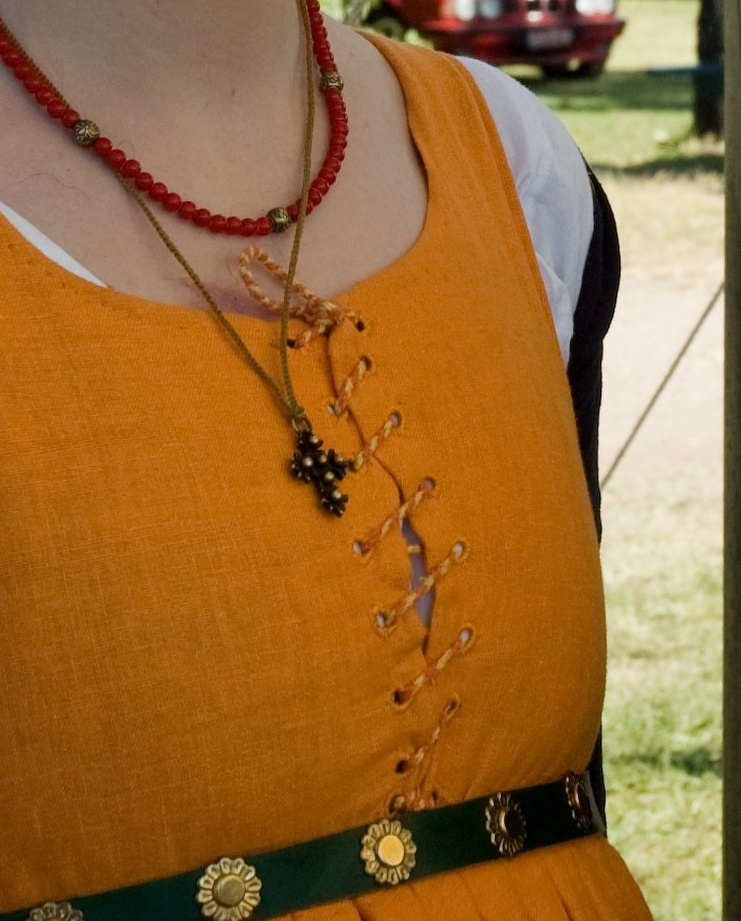
Here is my (almost) finished bodice
I usually prefer to use lacing rings to close my bodices because I am lazy and hate (making) hand bound eyelets and lacing rings are period. But at the time I couldn’t find any lacing rings as it was re-enactment season and the fishing shop had none of the solid rings we used to buy for $4.20 a pack of 12 (this is why my shop now stocks lacing rings, because I want them when I want them and for much cheaper than fishing shop prices! It does mean I miss out on getting flustered old men at the counter in the fishing shop saying “why are all you ladies coming in and buying them! You’re the third!”)
I didn’t have a shop back then so I had the choice of waiting until my father finished work to ask if I could raid his stash or making eyelets, so I chose the latter.
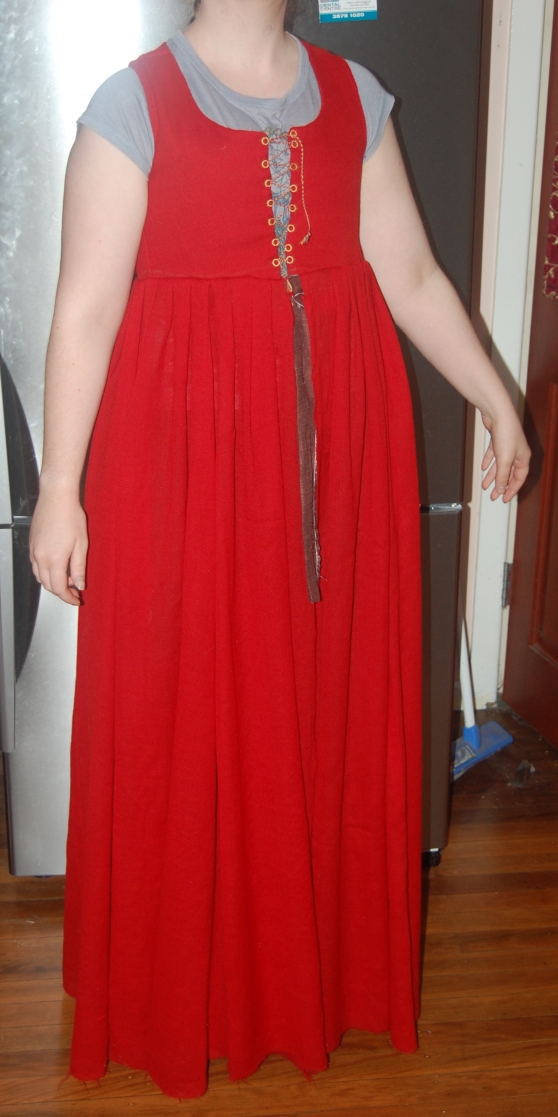
I finished the dress by whip stitching the skirt to the bodice edge. At the time I worried about the weight of the skirt damaging the fabric at this seam but eight years on it is fine and I still wear this dress.
Click here to go back to the finished gamurre page.